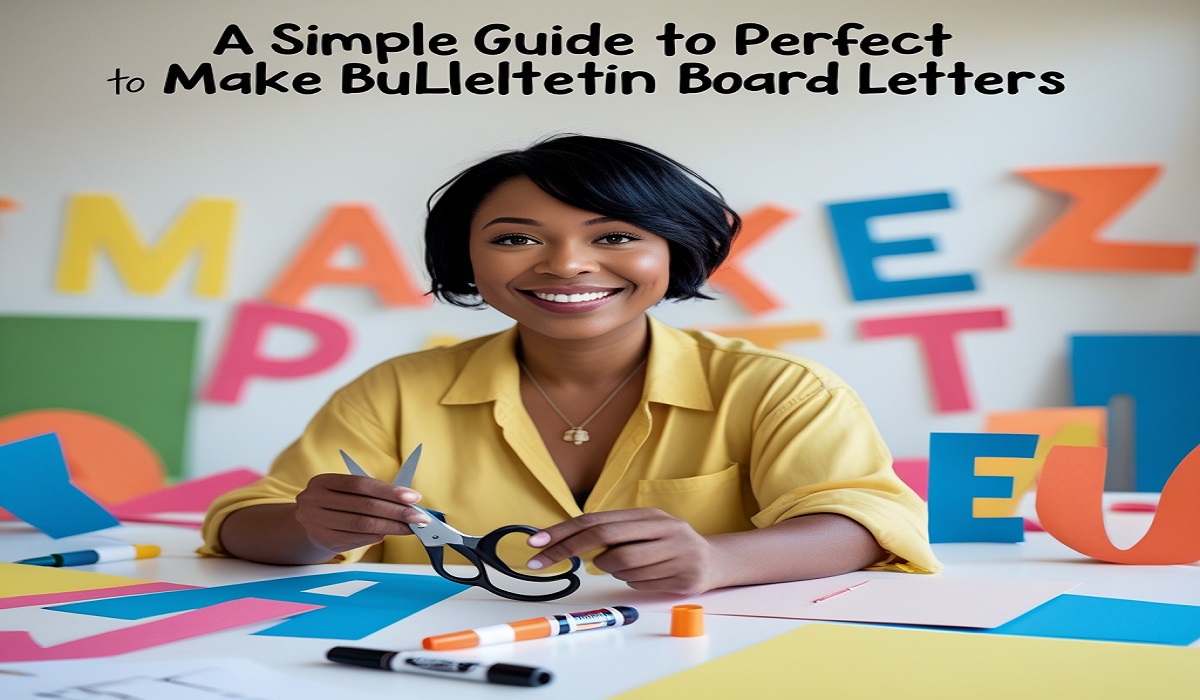
Make Bulletin Board Letters
Make Bulletin Board Letters: Walking into a classroom with a bright, welcoming bulletin board can set the tone for the entire day. The letters on that board spell out themes, celebrate students, and share important news. But finding the right letters in the right size, font, and color can be a real challenge. Store-bought packs are often limited, and using a cutting machine can feel complicated.
This guide presents the easiest way to make bulletin board letters. It is a straightforward method that requires minimal supplies and no special skills. You can create beautiful, professional-looking letters for any occasion, making your bulletin board truly your own.
Why Create Your Own Bulletin Board Letters?
Creating your own letters gives you complete control over your classroom or office decor. You are no longer limited to the fonts and colors available at the store. If you want giant, bold letters for a hallway display or small, cursive script for a welcome sign, you can make it happen. This method is also very kind to your budget. With just a few basic supplies, you can produce an endless supply of letters for every season and subject.
This approach to effortless bulletin board letters saves time in the long run. Once you understand the simple process, you can whip up a new set of letters in minutes. It is much faster than searching through old packs or driving to a teacher supply store. The ability to customize also means your displays will be unique and engaging, capturing attention and reinforcing your message in a way that pre-made letters cannot.
- Total Customization: Choose any font style, any color of paper, and any size you need.
- Cost-Effective: Uses materials you likely already have, like paper, a printer, and scissors.
- Saves Time: A quick solution for creating new letters on demand for any event or lesson.
Gathering Your Materials for Success
You do not need a lot of fancy tools for this project. The beauty of the easiest way to make bulletin board letters is its simplicity. The core items are probably already in your desk or supply closet. Having everything ready before you start will make the process smooth and enjoyable.
The essential material is paper. Cardstock is the best choice because it is sturdy and will not curl or tear easily. However, regular printer paper works well for smaller letters or temporary displays. You will also need a computer with a word processing program and a printer.
For cutting, a good pair of scissors is perfect. A craft knife and a cutting mat can be helpful for letters with intricate inside pieces, like “A” or “B,” but they are not required. Finally, you will want something to attach the letters to your board, such as sticky tack, pins, or double-sided tape.
- Paper: Cardstock is recommended for durability.
- Technology: A computer and a printer.
- Cutting Tools: Scissors are the main tool. A craft knife is optional for detail work.
- Adhesive: Sticky tack, push pins, or tape to secure the letters.
The Three-Step Method for Effortless Bulletin Board Letters
This is the core of the process. These three steps are designed to be simple, reliable, and produce consistent, high-quality results every time. By following this guide for effortless bulletin board letters in 3 steps, you will find the task becomes a quick and even relaxing activity.
The first step is to choose and type your word. Open your word processor and select a font that is clear and easy to read from a distance. Bold, sans-serif fonts like Arial Black or Impact are excellent choices. Type the word you need, then increase the font size to fill the page. You can print a test page on regular paper to check the size before using your good cardstock. This step ensures your letters will be perfectly proportioned and visible.
The second step is the printing process. Load your printer with the cardstock you have chosen. Most printers have a manual feed tray or a setting for thicker paper. Using this setting helps the printer handle the cardstock without jamming. Press print, and you will have your letters ready on a strong, nice-looking sheet. This method is a highlight of a simple guide to perfect bulletin board letters because it is so direct.
The final step is cutting out your letters. Carefully cut around the outline of each letter with your scissors. For letters with inner spaces, like “O” or “P,” you can use the tip of your scissors or a craft knife to poke a hole and then cut out the center. Take your time for neat edges. Once all letters are cut, you are ready to arrange them on your bulletin board.
Selecting the Best Fonts and Sizes
The font you choose changes the entire feeling of your bulletin board. A playful, rounded font is great for a primary classroom, while a clean, modern font might be better for an office or upper-grade display. The key is to pick a font that is easy to read. Overly decorative fonts can be hard to decipher, especially for young readers or people viewing from across the room.
Size is equally important. Your letters need to be large enough to be seen from wherever people will be standing. A good rule is to make your letters at least 4 to 6 inches tall for a standard classroom bulletin board. For a larger hallway display, you might need letters that are 8 inches tall or more.
Using the font size tool in your word processor, you can easily adjust until the word looks right on the page. This attention to detail is part of what makes this the easiest way to make bulletin board letters that actually look professional.
- Readability First: Choose clear, bold fonts without tiny, fancy details.
- Consider Your Audience: Match the font style to the age group and purpose of the board.
- Size for Visibility: Ensure letters are large enough to be seen from a distance.
Creative Ideas for Decorating Your Letters
After you master the basic cutting technique, you can explore fun ways to decorate your letters. This adds texture and visual interest to your bulletin board. One simple idea is to outline each letter with a glitter glue pen after you cut it out. This gives a sparkling border that makes the letters pop against the background.
Another popular method is to layer your letters. You can print and cut each letter twice—once in a main color and once in a contrasting color that is slightly larger. Glue the main color letter on top of the larger one, creating a shadow effect.
This adds depth and makes the title stand out. You can also glue items like buttons, sequins, or small pom-poms to the surface of the letters for a 3D effect. These creative touches transform your project from simple to spectacular.
Avoiding Common Mistakes
Even with a simple method, a few small errors can slow you down. One common mistake is not leaving enough space between letters when you type them on the page. If letters are too close together, they can be difficult to cut apart.
Always ensure there is a clear margin around each letter before you print. You can adjust the spacing between characters in your word processor’s font settings.
Another error is using paper that is too thin. Flimsy paper will bend and warp when you handle it, making it hard to attach to the board neatly. Sticking with cardstock prevents this problem. Finally, rushing the cutting process can lead to jagged edges.
Using sharp scissors and taking slow, deliberate cuts will give you the cleanest results. Avoiding these pitfalls ensures your experience with effortless bulletin board letters in 3 steps is truly effortless.
FAQs
1. Do I need a cutting machine for this method?
No, you do not need any special machine. This method relies on a standard printer and a pair of scissors, making it accessible to everyone.
2. What is the best type of paper to use?
Heavyweight cardstock is the best choice. It is thick enough to stay flat and not curl, making your letters look professional and last longer.
3. How can I make sure my letters are straight on the board?
A simple trick is to use a yardstick or a long ruler and a pencil to lightly draw a straight line on the bulletin board background. You can align the bottom of your letters to this line. Erase the pencil mark after you put the letters up.
4. Can I laminate the letters?
Yes, laminating your letters is a great way to make them more durable and reusable. Laminate the entire sheet of paper after printing but before cutting for the best protection.
5. What if I don’t have a color printer?
A black and white printer works perfectly. You can print your letters on white or colored cardstock. Alternatively, print on white cardstock and color them in yourself with markers or crayons for a personalized touch.
Conclusion
Creating engaging and beautiful bulletin boards should be a fun part of teaching or organizing, not a stressful chore. This method truly is the easiest way to make bulletin board letters. It puts the power of customization in your hands without requiring complex technology or a large budget.
By focusing on simple steps and creative possibilities, you can produce displays that are both informative and visually appealing. This simple guide to perfect bulletin board letters empowers you to communicate your messages with clarity and style, making your space more welcoming for everyone who sees it.